💳Adding a subscription
How to start charging customers in your web app
Starting with the Remindly app
If you haven't already, we recommend you complete the Remindly app guide before starting this one:
🚀Creating a web app from start to finishIf you do, skip to the Configure Stripe section below. Alternatively, you can keep reading to create a new application.
Starting with a fresh app
For this tutorial you will need:
Access to Petal Pro (you can purchase it on petal.build)
Elixir & Erlang installed (you can follow our installation guide to get up and running)
PostgreSQL running: Postgres.app works well for Mac or we have a docker-compose.yaml file that will run Postgres for you
An account on Stripe
For deployment (optional) you will need:
An account on Fly.io
Download
Head over to the projects page and create a new project, then download v1.7.0. You can unzip it in your terminal with the command unzip petal_pro_1.7.0.zip.
Run
First, rename the project:
Next, start the demo app:
Configure Stripe
Before we do anything inside the demo app, we need to add some Stripe Products. Login using your account. Make sure that Stripe is in "test mode" - this will allow you to test purchasing without a credit card.
Install the Stripe CLI
Follow these directions to install the Stripe CLI. Then login via the command line (the instructions to login are also on this page):
Commands run using the Stripe CLI default to test mode
Create the "Essential" product
First create the "Essential" product:
Take note of the id returned, it will look like prod_xxxxx.
Create the Monthly price:
Make sure you replace prod_xxxxx with the id returned from the previous call.
Note that --unit-amount is in cents, rather than dollars
Now do the same thing for the Yearly price:
Add the "Business" and "Enterprise" products
Repeat the process (above) to create a "Business" and an "Enterprise" product. Use the table below as a point of reference for suggested prices:
Monthly price
$19
$49
$99
Yearly price
$199
$499
$999
Enable switching plans for the Customer Portal
When purchasing a subscription, Petal Pro will redirect to Stripe. In the case where the user switches from an existing plan to another - you need to enable some settings for the Customer Portal. Once logged into Stripe:
Make sure Stripe is in "Test mode"
Click on the cog on the top right, then click on
SettingsIn the section titled "Billing", click on
Customer PortalExpand the "Subscriptions" section
Enable the setting,
Customers can switch plansUsing "Find a test product..." add prices from the Essential, Business and Enterprise products
In addition, you may want to review the "Business information" section - to customise the output of the Customer Portal
Configure Petal Pro
Petal Pro comes pre-configured for Stripe integration. There are three things you need to do to test the integration locally:
Run the CLI web hook
Add Stripe settings to your development environment
Update the Petal Pro config with product/price details (created above) from your Stripe account
Run the CLI web hook
In order to test your Stripe integration on your dev machine, you'll need to run a web hook. This is done using the Stripe CLI (see the Install the Stripe CLI section for more information).
Once you are logged in via the Stripe CLI, you can run the following command:
Take note of the whsec_xxxxxxxxxxxxxxx secret. This will be used as your STRIPE_WEBHOOK_SECRET in the next section.
Add Stripe settings to your development environment
First, you'll need your STRIPE_SECRET and your STRIPE_WEBHOOK_SECRET. To get your STRIPE_SECRET:
Go to the Stripe console
Make sure you're in "Test mode"
At the top of the screen, click on
Developersthen clickAPI keysUnder "Standard Keys", look for the "Secret key"
Click
Reveal test keyClick the key to copy it
To get the STRIPE_WEBHOOK_SECRET, see the instructions under Run the CLI web hook.
The next step is to add these as environment variables to your demo app. Make sure that you install direnv and that you're in the root of the demo project:
Uncomment these lines at the bottom of the file:
Update the values you obtained (above) for STRIPE_SECRET and STRIPE_WEBHOOK_SECRET.
The .envrc file is listed in .gitignore. Meaning that the secrets will live on your development machine and will not be accidentally pushed to the git repo.
To activate the new environment variables:
Update the Petal Pro config
Petal Pro is shipped with the following config:
Note that the essential-monthly and essential-yearly plans contain prices that refer to Stripe (e.g. price_1NLhPDIWVkWpNCp7trePDpmi). These prices need to be replaced with Stripe Price ids that you generated.
To get the list of prices for the "Essential" product:
In the config, replace the essential-monthly and essential-yearly item/price with the ids returned from the Stripe CLI. Repeat the above process for the Business and Enterprise plans.
Test the demo
In the web app, login as the admin user.
The default user name for the admin user is [email protected]. The default password is password
Navigate to the Organisations page:
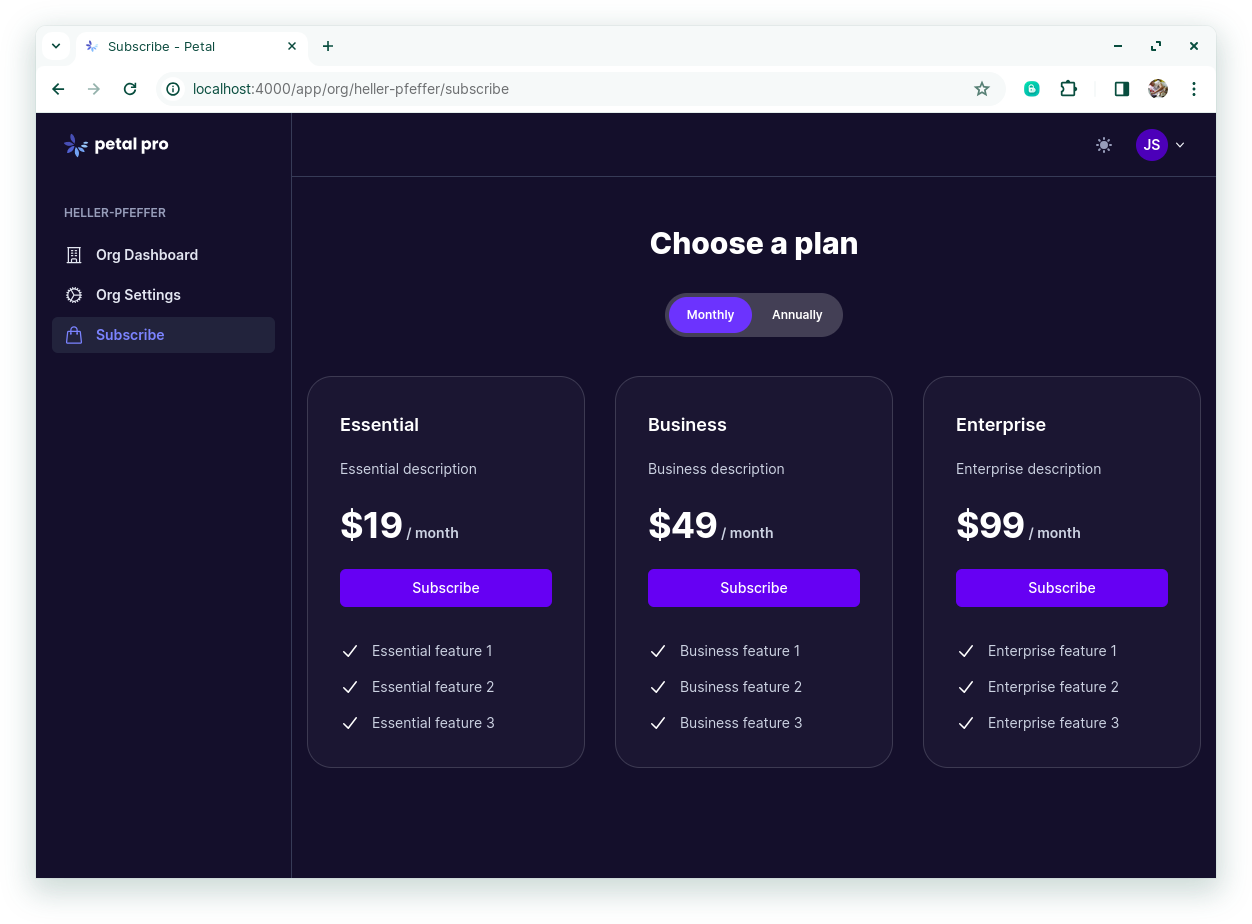
Click on your Organisation, then click "Subscribe". You'll see the following page:

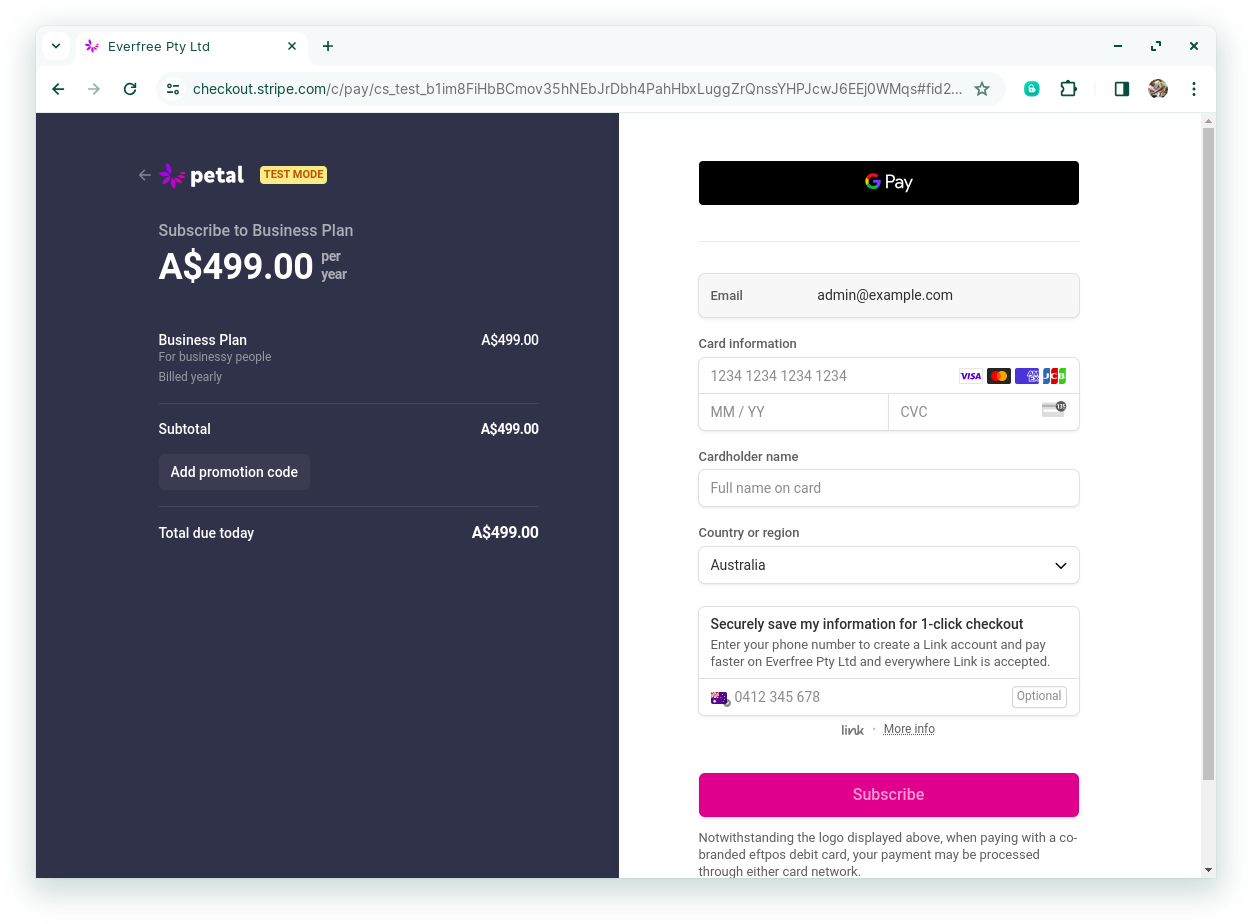
Choose a plan by clicking a Subscribe button. You'll be redirected to the Stripe checkout session:

Because Stripe is in test mode, you can use the test card 4242 4242 4242 4242. Fill out the details and hit the Subscribe button.
For more information on test cards, see https://stripe.com/docs/testing
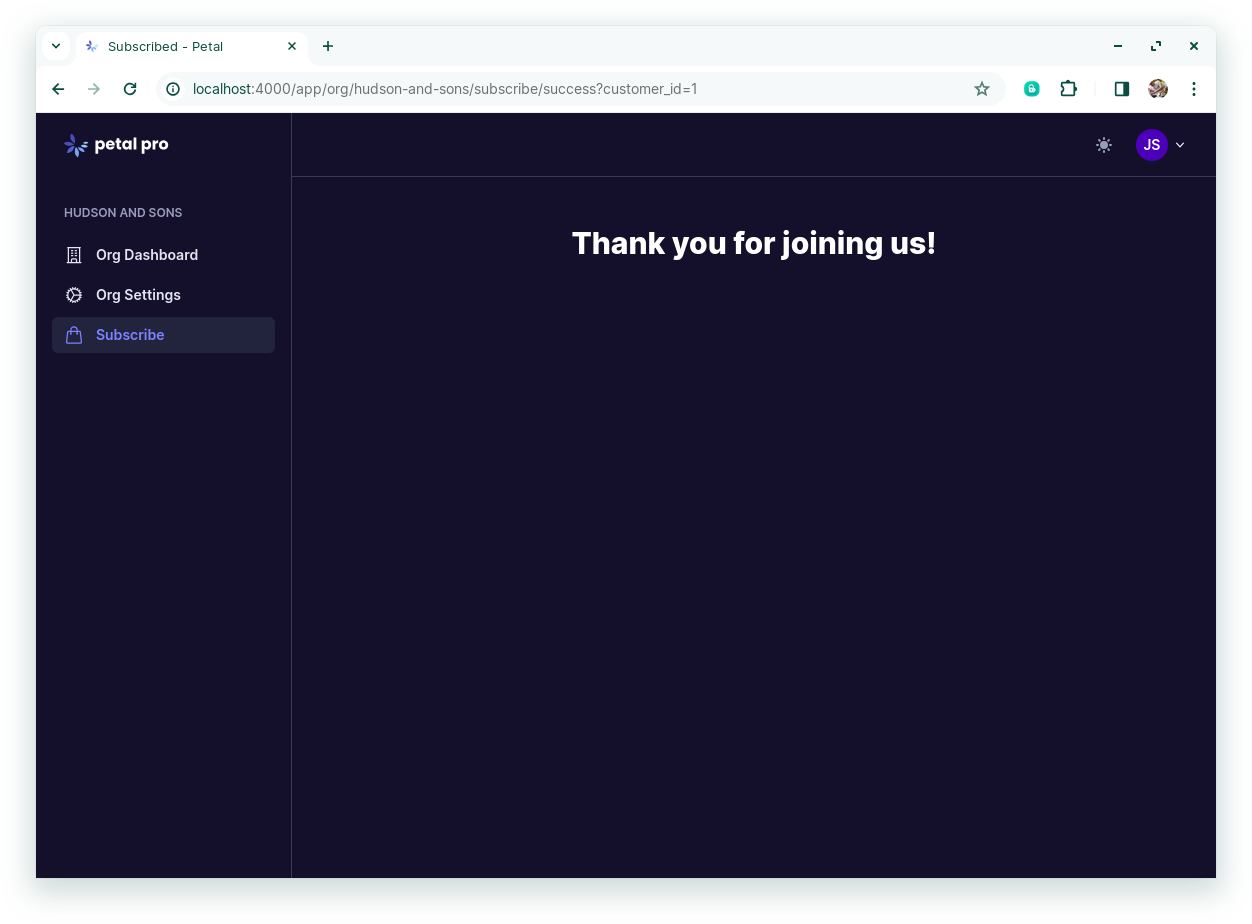
Once the purchase is successful, you'll be returned to the billing success page:

If you see a spinner and then nothing happens, this is because the Stripe web hook listener isn't running. See Run the CLI web hook for more information on how to set it up
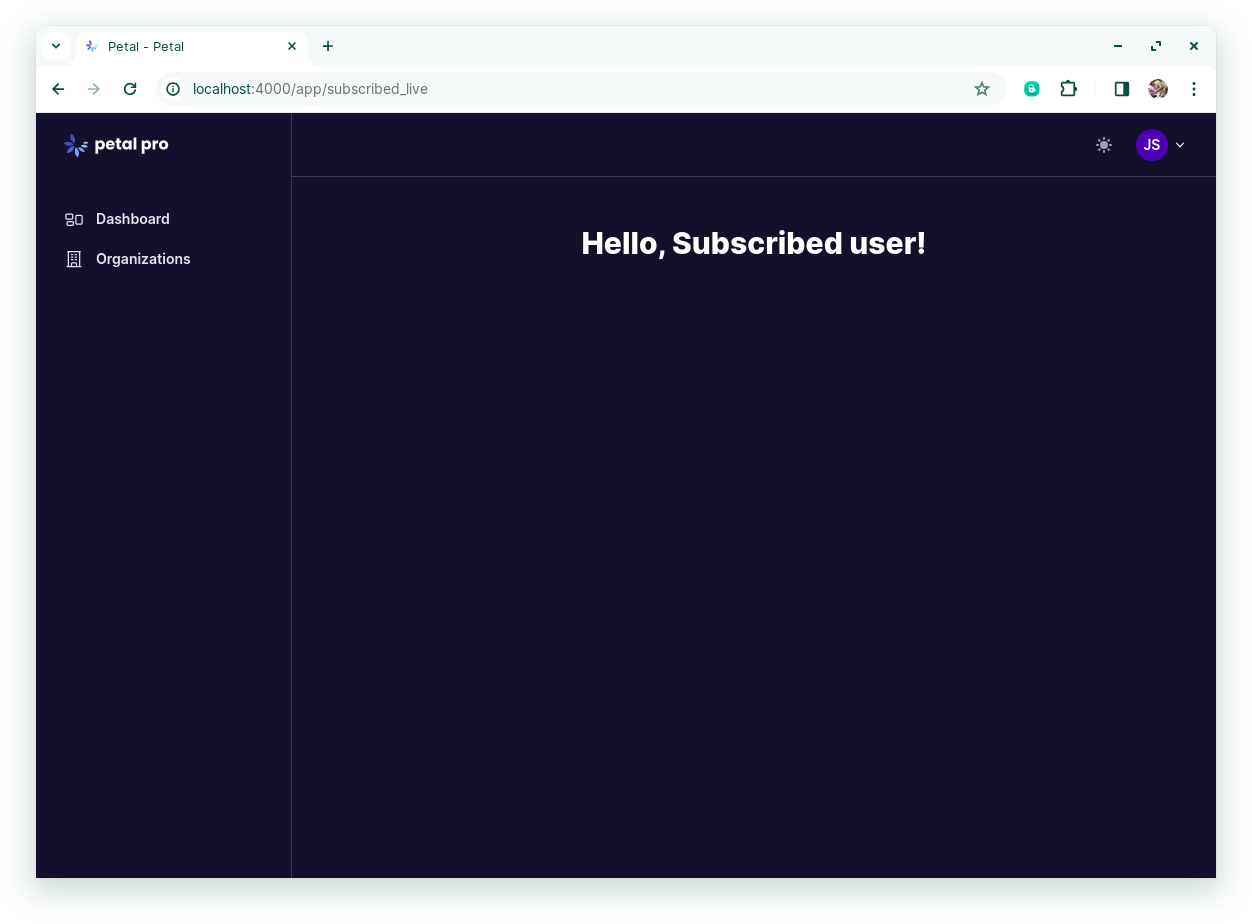
Now that the subscription is active, the following route becomes accessible:

If you want to add another route that is only accessible to subscribers you can do this in lib/petal_pro_web/routes/subscription_routes.ex.
Org vs User subscriptions
Subscriptions either belong to Organisations or individual Users. The default behaviour is set to Organisations:
For org-based subscriptions, the following routes are relevant:
There is an equivalent set of routes for user-based subscriptions:
Finally, the last thing to be aware of is lib/petal_pro_web/routes/subscription_routes.ex. There are two locations in this file where you can add new routes for subscribed users:
Deployment with Fly.io
Once your demo is ready, you can push it to production. To do so, there's three steps:
Push the demo app to Fly.io
Setup webhook endpoint on Stripe
Configure Fly.io environment variables
Push the demo app to Fly.io
We have found Fly.io to be the best combination of cheap and easy. Petal Pro has been set up for users to quickly deploy on Fly.io's servers.
If you haven't already, download the Fly.io CLI. Then you will need to register or sign in.
Once signed in, you can create a new project with:
fly launch
We'll call the app
sub-demo.Hit
Yto setting up a DB as we'll need that.Go with the cheapest option for a server
Hit
Nto Upstash RedisWhen it asks "Do you want to deploy now", hit
N- we need to make a change before we deploy.
Email sending
To be able to register/sign in, we'll need to ensure email is set up and we'll need a service to send our emails out. We've found that the simplest and cheapest solution is Amazon SES, and so Petal defaults to using this. Look in runtime.exs to see the setup:
We don't really use Amazon for much else, but its email service is cheap and the emails don't get sent to spam as easily as other services we've tried (cough cough Sendgrid).
Setting up Amazon SES is beyond the scope of this tutorial. You can read their docs here to set it up. The end result should be you are able to provide the following secrets that we'll provide to our production server:
If you don't want to use SES you can switch to a different Swoosh adapter.
Telling Fly to add our "petal" repo
Since Petal Framework is not coming from hex.pm, we need Fly to know to add our Petal registry.
After running the fly launch command above, Fly has generated a dockerfile in the root of our project.
Open Dockerfile and search for this bit:
Before that mix deps.get command is run, we need to add the Petal repo. So, above this block of code you want to add:
Finally, we can run fly deploy --build-secret PETAL_LICENSE_KEY=<your key>
You can see your key in the install instructions on Petal (see Step 1 and copy the key written after "--auth-key").
After deploying you can run fly open to see it in your browser. But we're not done yet!
Setup webhook endpoint on Stripe
You can use the Stripe CLI to run the webhook when working on your own dev machine. However, for a hosted service, you need to configure an endpoint in the Stripe console:
Open the Stripe console
Make sure you're in "Test mode"
Click on
Developersat the top of the pageThen click on
WebhooksClick on
Add endpoint
For the Endpoint url enter the following (replace your-host-name with the name of your fly application):
https://your-host-name.fly.dev/webhooks/stripe
Further down the page under the heading "Select events to listen to" - click on + Select events. Add the following events to the list:
customer.subscription.created; andcustomer.subscription.updated
Finally, click the Add endpoint button.
Configure Fly.io environment variables
The demo app running in Fly.io needs to be configured for Stripe. We need two settings. First, to obtain the STRIPE_SECRET:
In Stripe, make sure you're in "Test mode"
Click on
DevelopersClick on
API KeysClick on
Reveal test keyClick the key to copy it. This is for our
STRIPE_SECRETenvironment variable
Next, to obtain the STRIPE_WEBHOOK_SECRET:
In
Developersclick onWebhooksClick on the endpoint you just created
Under "Signing secret" click on
RevealCopy the secret
Now at the command line, run the following command:
Once Fly has finished deploying you're new secrets, you should be able to purchase a subscription using the Fly demo app!
From test mode to production
One last thing. All Stripe configuration (up until this point) has been setup exclusively in "Test mode". The main focus of this tutorial is to get you up and running - without worrying about payments with real credit cards.
To prepare your app for production, you can follow this tutorial with "Live mode". Before you do, please read the next two sections.
Using the CLI with "Live mode"
The Stripe CLI defaults to "Test mode". To work in "Live mode" you'll need to pass in an extra parameter. For example, if you wanted to list products in live mode you would do the following:
Not all Stripe CLI commands support the --live flag. But it will work with the commands listed in this tutorial.
Recreate the Stripe Products
You'll need to repeat the Configure stripe section - re-creating the products in "Live mode". This means that you'll end up creating the same products, but they will have different ids. Before you update the configuration in /config/config.exs, I suggest that you copy the following section to /config/dev.exs:
That way you can stick with "Test mode" on your dev machine and then use /config/config.exs for your production server.
Was this helpful?
