Blog/CMS
Blogging system based on the Content Editor component.
The Content Management System (CMS) provides a basic blogging platform. The CMS provides a set of basic features:
Minimal data structure - one table for Posts, one table for Files
Simple publishing process - draft fields are copied over published fields
Rich content is supported via the Content Editor component (integrated with Editor.js)
File browser allows the user to upload and select files
Admin console to manage blog posts
Basic UI to show published posts
Data Entry
To create a blog post, go to the admin console:
/admin/postsHere you'll see the list of posts:
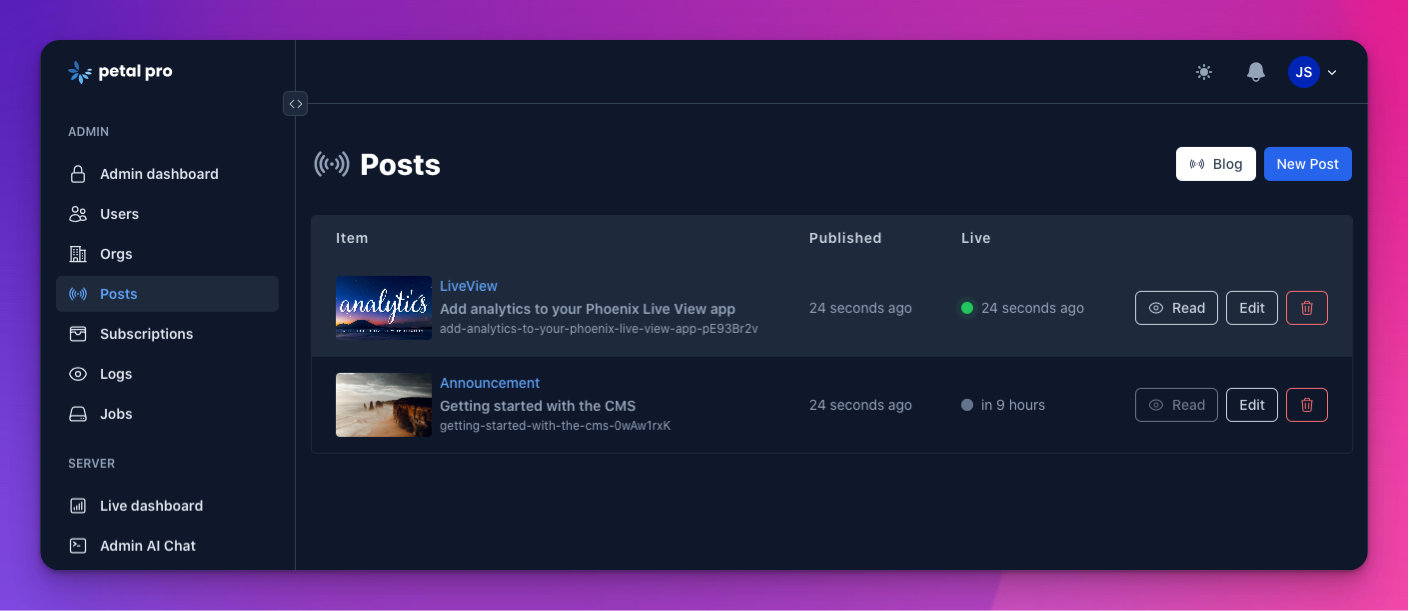
To create a post, click the "New Post" button:
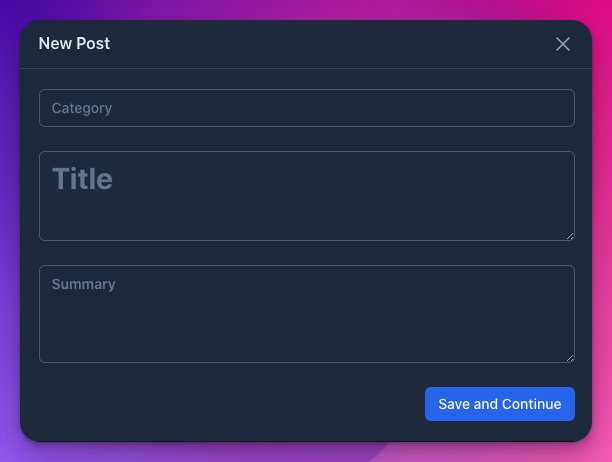
Fill in the fields (only Title is required) and click on "Save and Continue". Here you'll see the main data entry screen:
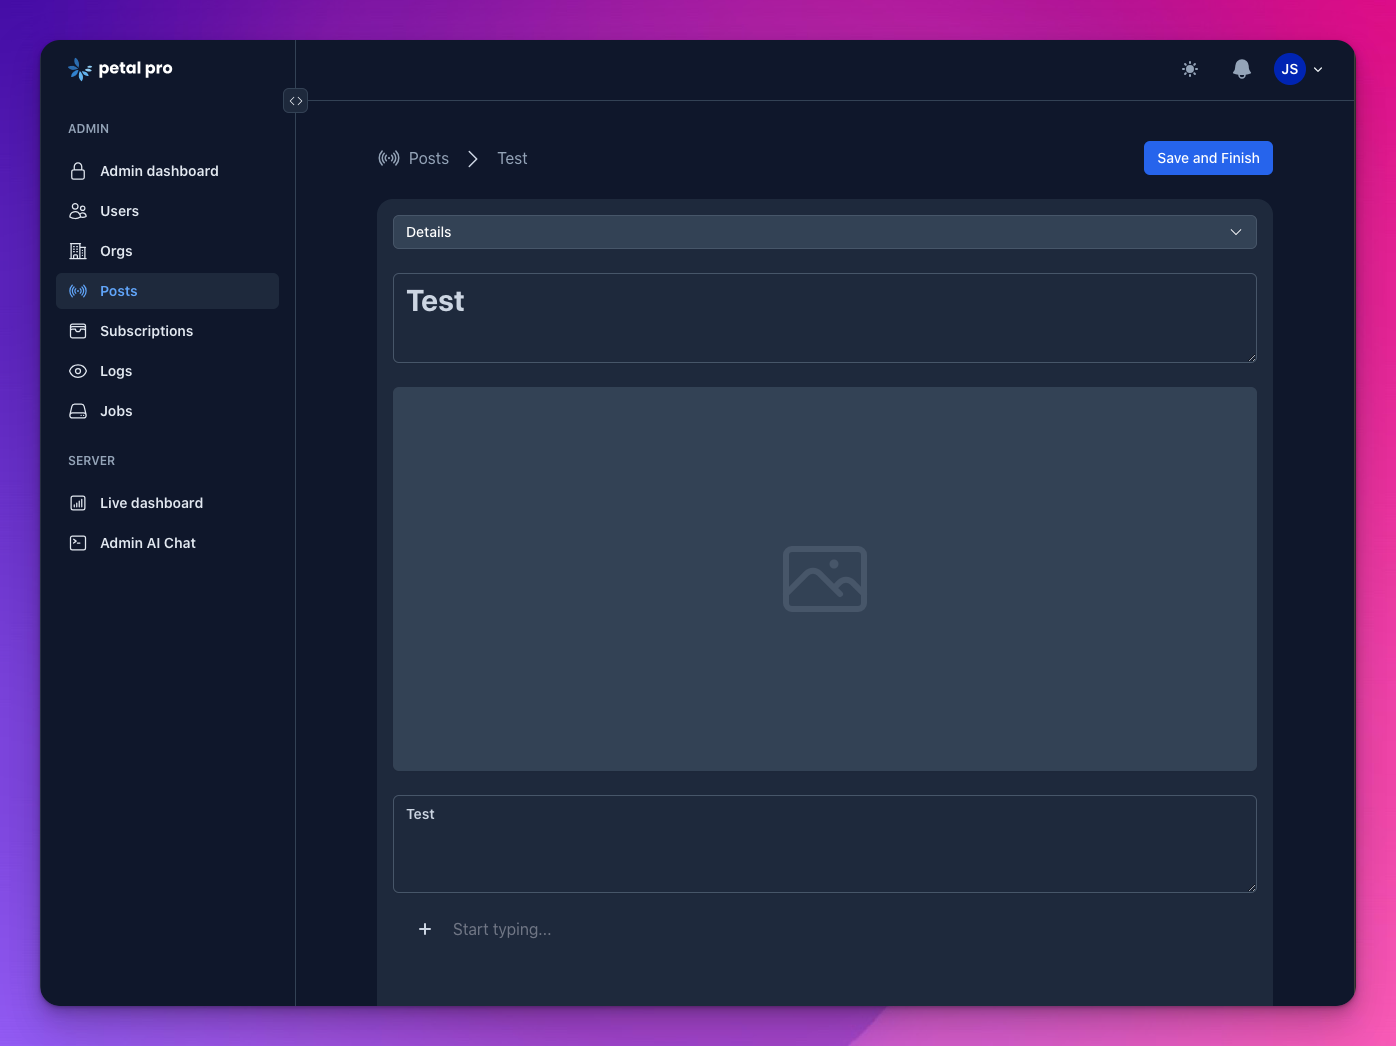
You can click the cover image to bring up the file browser. The main data entry starts at the section that says, "Start typing...". This part of the document is using the Content Editor.
While on the edit page, any changes made to the document will be auto-saved!
Publishing Process
Once your happy with your edits, click on "Save and Finish". This will bring you to a preview of the draft:
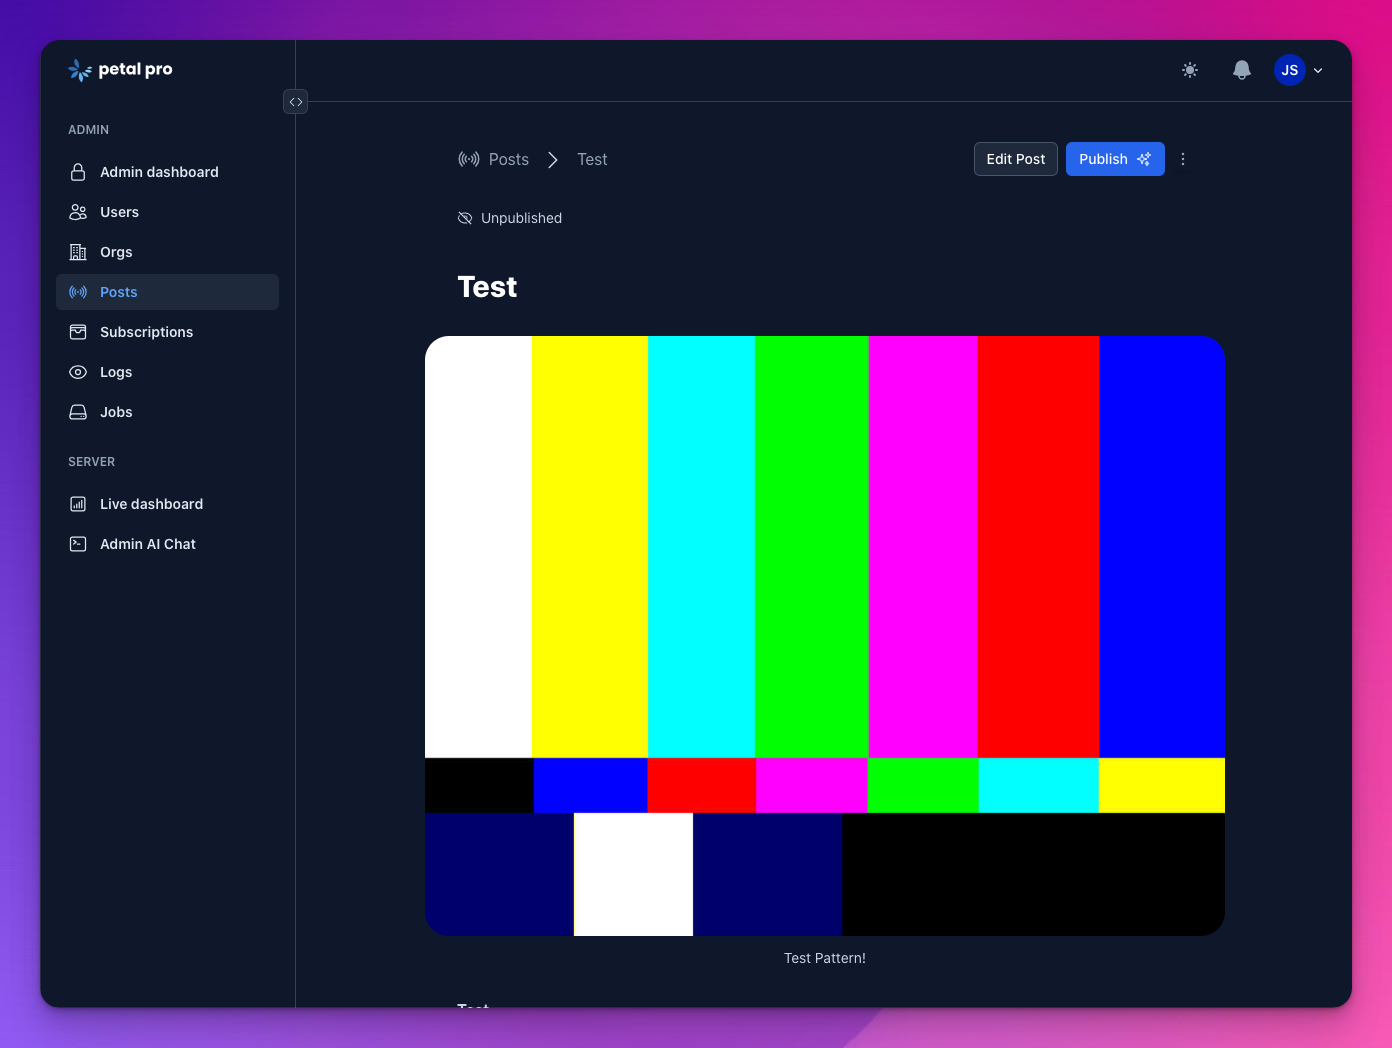
To make this post publically available, click on the "Publish" button:
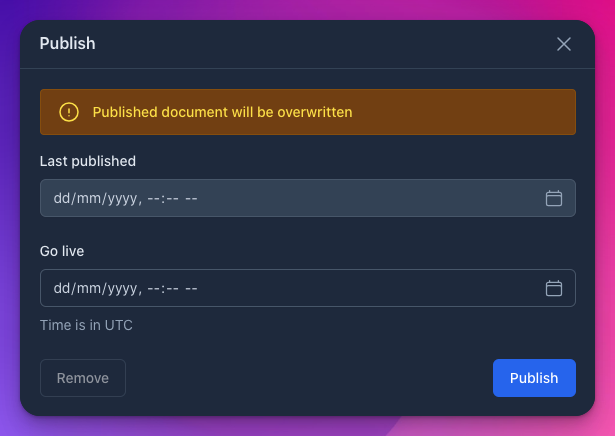
To complete the process, select a "Go Live" date/time and hit the second "Publish" button!
The Go Live date/time is based on UTC. Currently there is no support for user/timezone configuration in Petal Pro. If the time of day matters, you'll need to convert it to UTC before filling out this form.
Draft data will be copied over published fields. For more details on what those fields are and what else happens, see the Data Structure section. Assuming the post is live, it will be available in the Blog.
Un-publishing
Once a post has been published, you can bring up the Publish modal again:
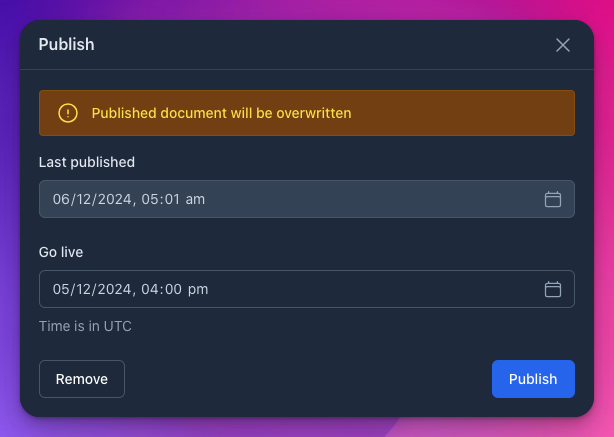
To un-publish, click the "Remove" button. This won't affect data entry, but it will ensure that the post is no longer publically available via the Blog.
Content Editor
The Content Editor component is based on Editor.js. You can use it to create paragraphs, lists, tables, insert images and even insert embeds.
pic
Editor.js is a block-style editor that that generates a json document as output. This json is captured and stored in the Post data structure (see Data Structure below for more details). Rendering is taken care of by the Content Editor component, via the .content and .pretty_content function components.
Pre-installed Editor.js Plug-ins
Editor.js has it's own eco-system - functionality is provided via plug-ins. The following plug-ins are installed by default:
Header (
h1toh6)Quote (similar to a markdown quote)
Marker (a tool for highlighting sections of text)
InlineCode (so you can display inline text as code)
Code (so you can show a code block)
Delimiter (break up paragraphs with a line-based delimeter)
List (ordered and unordered lists)
SimpleImage (paste in a url to an image and it will render)
Table (UI for creating a HTML table)
Warning (displays an alert, similar to the next section)
Embeds (e.g. paste a YouTube link to create an embedded iframe)
The SimpleImage plug-in will only work for urls that are configured in the Content Security Policy. See the Data Structure section for more information on the Content Security Policy
Finally, we've created a plug-in that integrates with the file browser, called PetalImage
Adding Plug-ins
There are many core and community-based plug-ins available for Editor.js and there's nothing stopping you from using them! Petal Pro uses npm for installation. Documentation for installing plug-ins can be found here.
The only requirement is that the Content Editor component is updated so that the renderer can output data from the new plug-in. Thankfully, this is extremely easy to do. In fact, here's a tutorial on how you can create your own Editor.js plug-in and adjust the Content Editor:
🔌Content Editor - adding your own plug-inData Structure
Here's what a Post looks like:
Blog posts belong to a user. However, the default behaviour is that only admins have access to the console.
As a general rule, the draft fields are used in the admin console. The published fields are only used in the public facing Blog.
At the time of saving a draft, if the :title has changed, then it is used to generate :slug. The :slug includes the :id as a postfix (base64 encoded). So if the title is, "Hello Fred", then the slug will look similar to hello-fred-OwAw1rxK. This way it won't matter if the :title changes, pasting an old :slug into the browser will still result in loading the correct Blog post.
When publishing a post, the draft fields are copied over the published fields. In addition :last_published is set to DateTime.now_utc and :go_live is based on the user's data entry.
The output of the Content Editor component (i.e. Editor.js json data structure) is stored in the content field (and published to the published_content field).
The cover field is a url to an image (and by extension published_cover is too). This can be any url, but you'll need to make sure the domain is configured in the Content Security Policy. To find out how to configure the Content Security Policy (or disable it), check out:
Though the cover image can point to any url, in reality the domain will probably be defined by the file browser. See the File Browser section (below) for more information.
Here's what the File data structure looks like:
Again, a file belongs to a user, but by default only admins have access to the console.
A file points to a url and has a name. Files are intended to be single use - you can add a file, name it and then you're done. If you want something different, you add a new file. If you want to replace a file, archive the old file and add a new one. This behaviour is supported by the File Browser. The main benefit of this design is that you can control what you see, but limit the chance of accidentally deleting a file that's in use.
File Browser
The file browser provides a means to upload and select images:
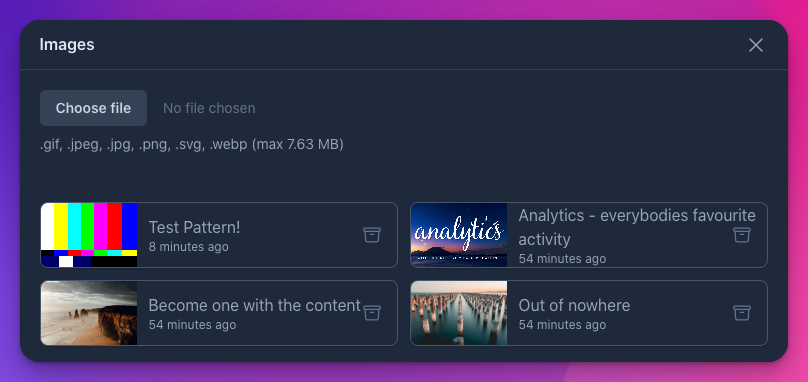
NB - the file browser is currently targetted at images (i.e. files that are easy to preview). Other file types (such as pdf documents) could be supported but will require more work to enable. If you're interested in a feature like this, please consider adding it to the Petal Pro roadmap.
Based on LiveView Uploads the file browser defaults to storing files on the local server:
As you can see, this can be configured to work with an external uploader instead. You can use one of the built-in providers (Cloudinary or S3).
In the case of a local server upload, Cloudinary or Amazon S3 - the Content Security Policy has been pre-configured and should work out of the box.
Was this helpful?
