
🌎Deploy to Fly.io
Deploy your application to production using Fly.io
Before you start
There are some things to be aware of before you deploy to production (this applies to more than just Fly.io). For more information, see:
🛫DeploymentDeployment with Fly.io
We have found Fly.io to be the best combination of cheap and easy. Petal Pro has been set up for users to quickly deploy on Fly.io's servers.
If you haven't already, download the Fly.io CLI. Then you will need to register or sign in.
Once signed in, you can create a new project with:
fly launch
New: fly may prompt you with with a series of default settings and ask if you want to tweak them. Hit Y and it will open your browser with a UI where you can pick/choose settings.
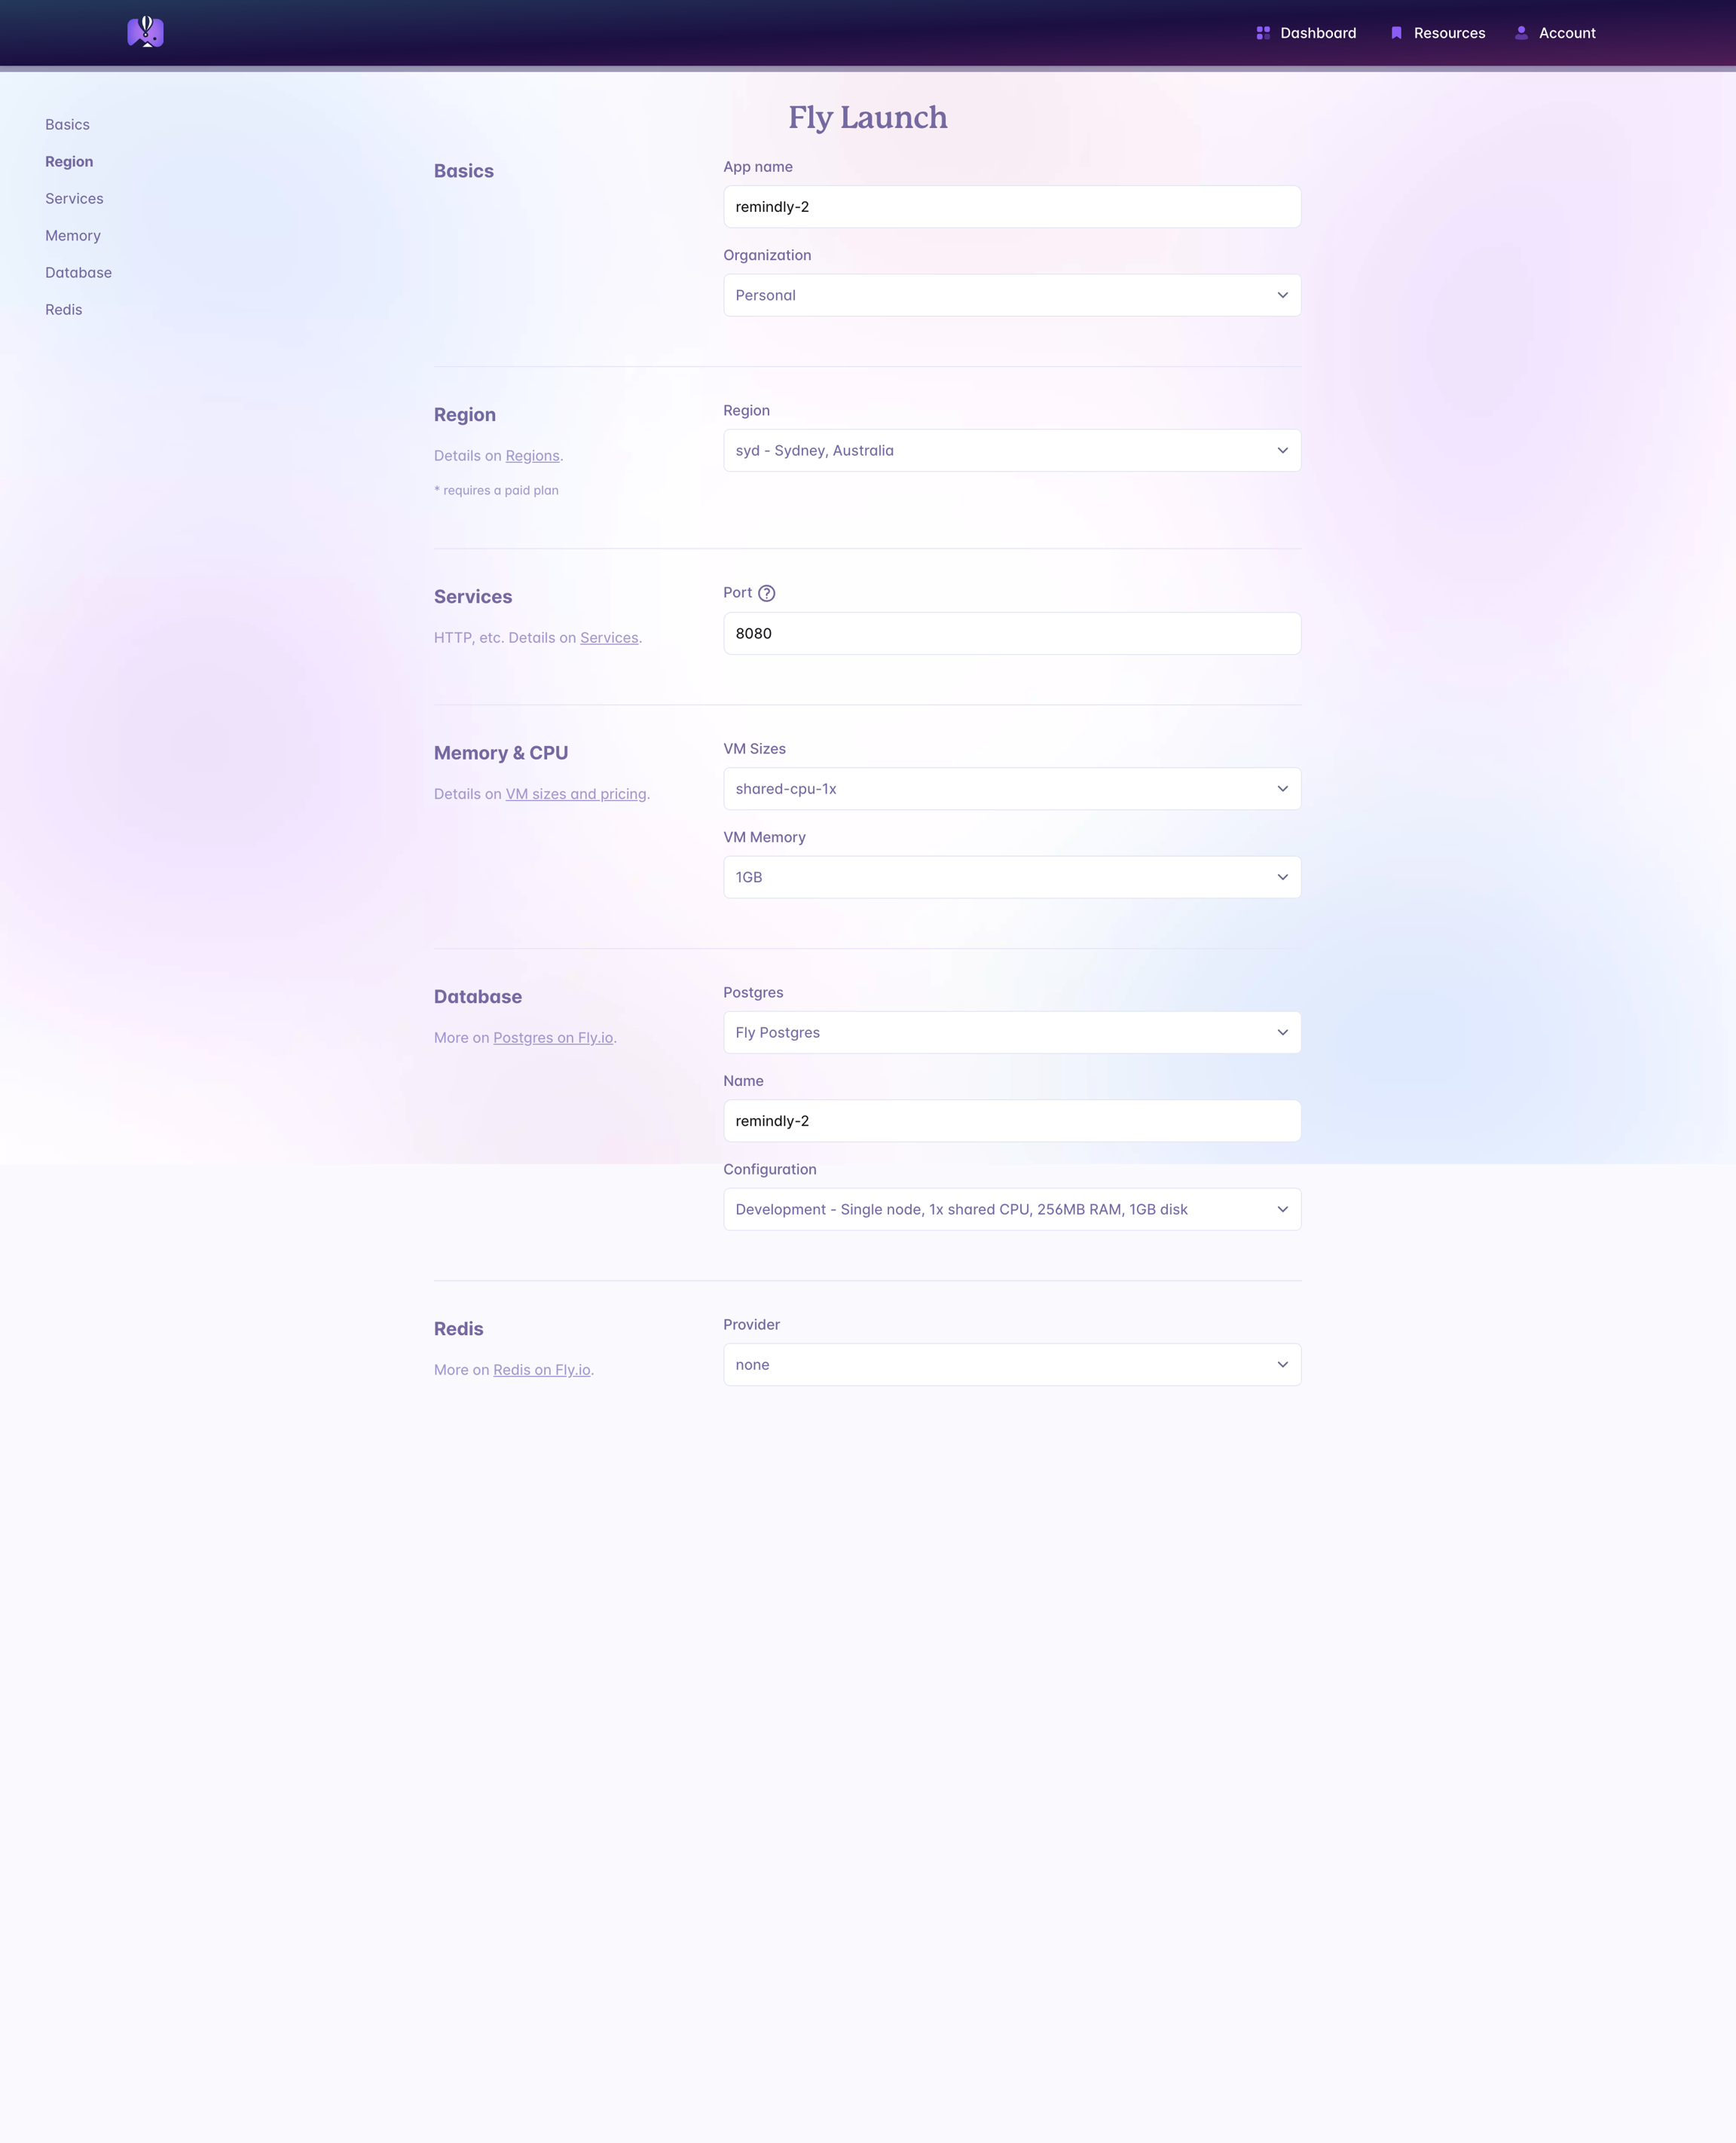
Give your app a name (this can't be changed in future).
Under Database, choose "Fly Postgres", as we'll need that.
Pick a server size - we usually go with the cheapest configuration
You can leave Redis as none.
Hit Confirm.
At this point, it may try to generate and deploy the app, but will fail. We need to make some changes for the Docker build image to succeed.
Adjusting the Dockerfile
Under the hood, fly launch will make the following mix call to generate the Dockerfile:
Petal Pro 3.0.0 uses Elixir 1.17.2. If you're on the latest version of Phoenix (1.7.21 at the time of writing), then the generated Dockerfile will include the correct version of Elixir. See the Phoenix documentation for instructions on how to update Phoenix.
Petal Pro uses npm to deploy assets. So you'll need to add nodejs and npm to the RUN apt-get command:
A word on environment variables
fly launch will automatically create the following secrets:
SECRET_KEY_BASEDATABASE_URL
These are used to set environment variables in the server at boot time. In addition, the generated fly.toml will refer to the following environment variables:
PHX_HOSTPORT
Again, these are used as environment variables at boot time. Petal Pro depends on these environment variables being set in order to start. To see how the environment variables are utilised at start up, take a closer look at runtime.exs.
Email sending
To be able to register/sign in, we'll need to ensure email is set up and we'll need a service to send our emails out. We've found that the simplest and cheapest solution is Amazon SES, and so Petal defaults to using this. Look in runtime.exs to see the setup:
We don't really use Amazon for much else, but its email service is cheap and the emails don't get sent to spam as easily as other services we've tried (cough cough Sendgrid).
Setting up Amazon SES is beyond the scope of this tutorial. You can read their docs here to set it up. The end result should be you are able to provide the following secrets that we'll provide to our production server:
If you don't want to use SES you can switch to a different Swoosh adapter.
Fly deploy
Finally, we can run fly deploy.
If deployment fails here, you may need to add a payment method to your account as Fly only allows 1 machine per app.
After deploying you can run fly open to see it in your browser.
Last updated
Was this helpful?